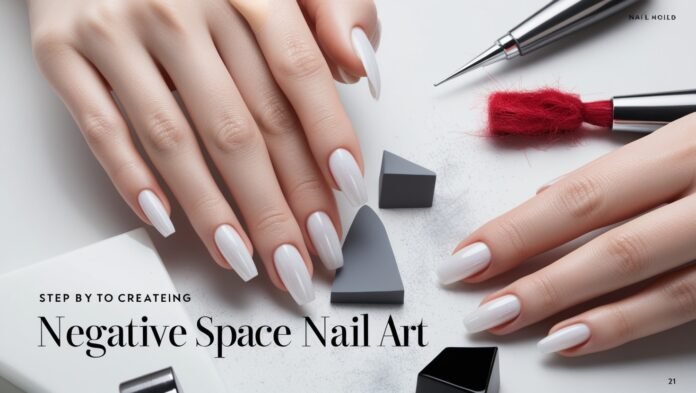
Negative space nail art is one of the hottest trends in the nail world right now, and for a good reason! This innovative style embraces the natural nail, using the unpainted area as part of the design, resulting in a chic and modern look. If you’re new to nail art and looking for a negative space nail art tutorial that’s easy to follow, you’re in the right place. In this guide, we’ll walk you through creating stunning beginner negative space nails in just a few simple steps!

What You’ll Need
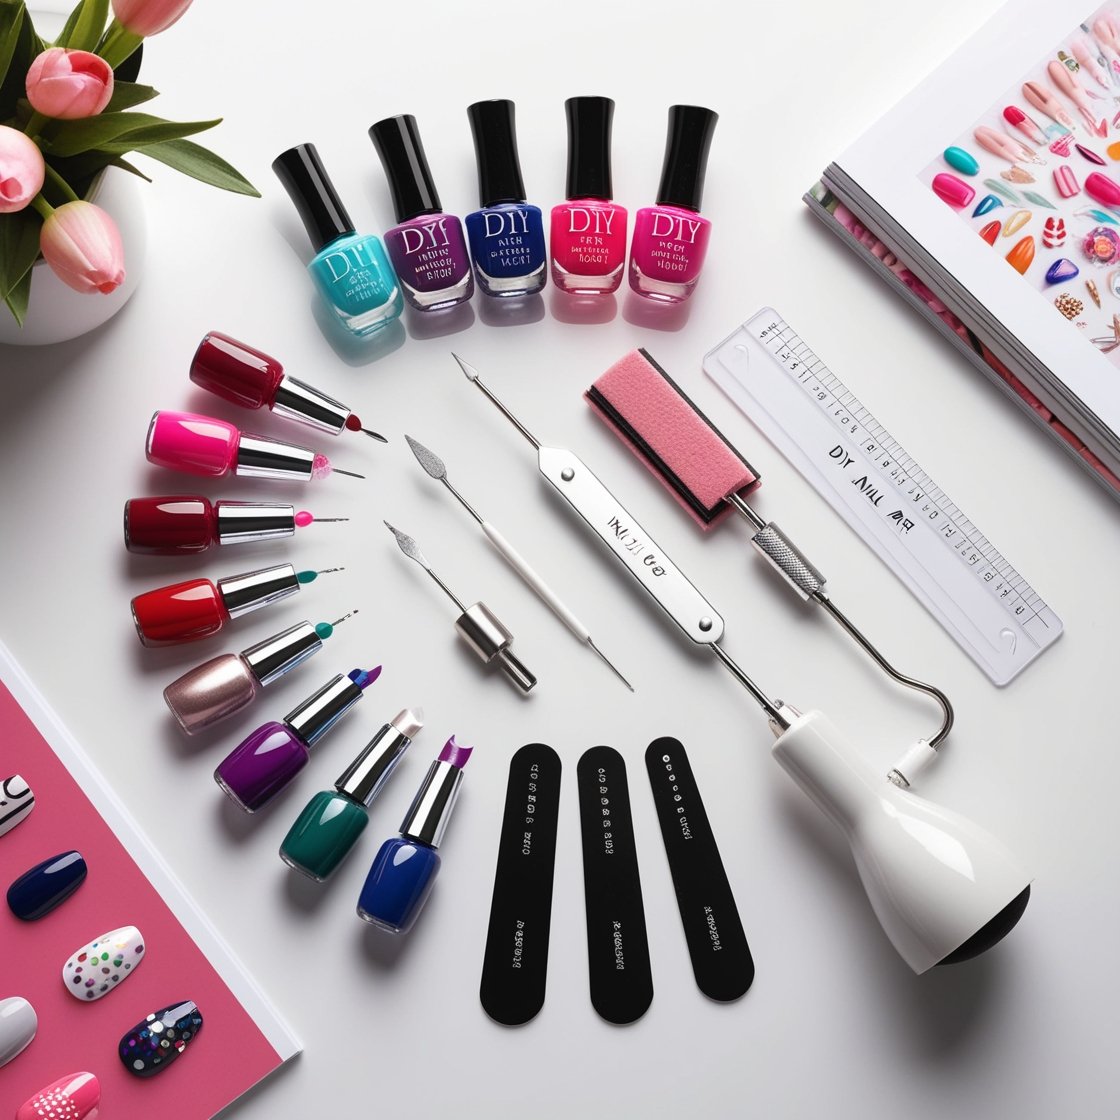
Before we get started, gather the following supplies:
- Base coat: To protect your natural nails.
- Nail polish: Choose one or more colors that you love for the design. Neutral shades work well for a subtle look, while bold colors can make a statement.
- Top coat: For a glossy finish and to seal your design.
- Nail tape or striping tape: For creating clean lines and patterns (optional).
- Dotting tool or toothpick: To help create shapes and designs (optional).
- Nail file and buffer: To prep your nails.
- Cotton pads and remover: For cleanup.
Step-by-Step Negative Space Nail Art Tutorial
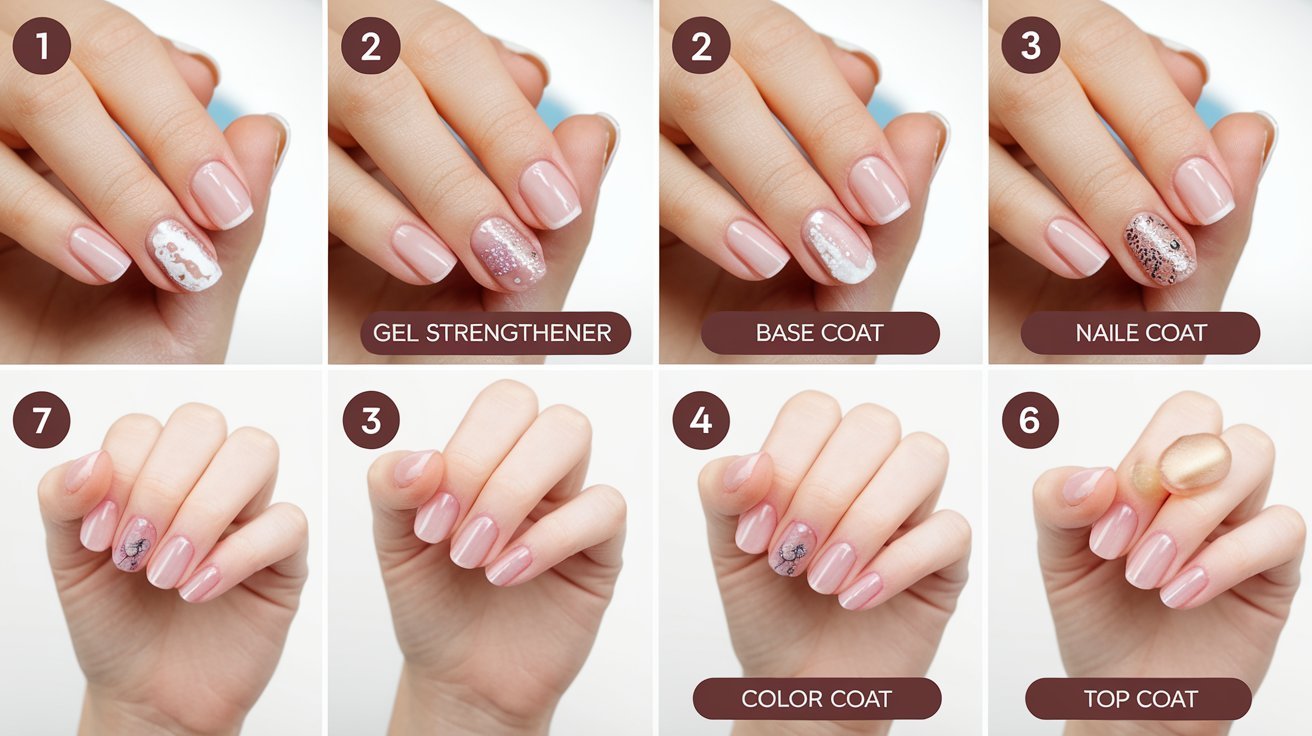
Step 1: Prepare Your Nails
- Start with clean nails: Remove any old nail polish and wash your hands thoroughly. Ensure your nails are free from oils and residue.
- Shape and buff: File your nails to your desired shape and gently buff the surface for a smooth finish. This will help the polish adhere better.
- Apply a base coat: Apply a thin layer of base coat to protect your natural nails. Allow it to dry completely before moving on to the color.
Step 2: Plan Your Design
- Decide on your design: Before applying any color, think about the design you want. Common negative space designs include geometric shapes, stripes, and floral patterns. You can sketch your ideas on paper to help visualize them.
- Use tape for clean lines: If you’re creating geometric designs or stripes, use nail tape or striping tape to create clean sections. Place the tape on your nails in the desired pattern, ensuring it adheres well.
Step 3: Apply Your Nail Polish
- Choose your colors: Select the colors you want to use. If you’re going for a minimalist look, consider using a nude or light shade for the base.
- Paint your design: Using a brush, apply the nail polish over the taped sections, leaving the negative space exposed. For a more intricate design, use a dotting tool or toothpick to add details.
- Allow it to dry: Wait a few minutes for the polish to dry completely before removing any tape or adding more layers.
Step 4: Finish Your Design
- Remove the tape: Carefully peel off the tape to reveal your negative space design. If you used a dotting tool or toothpick, make sure those areas are dry before proceeding.
- Apply a top coat: Once your design is completely dry, apply a top coat to seal your artwork and add shine. This step is essential for protecting your design and prolonging its wear.
- Let everything dry: Allow your nails to dry completely before using your hands for any tasks.
Tips for Success
- Experiment with colors: Don’t be afraid to mix and match different colors. Negative space designs look great with contrasting shades or monochromatic palettes.
- Be patient: Allow each layer to dry fully to prevent smudging or smearing your design.
- Practice makes perfect: If your first attempt doesn’t turn out as expected, don’t get discouraged. Negative space nail art can take a little practice, but it’s worth it for the stunning results!
Conclusion
Negative space nail art is an easy and trendy way to express your creativity while keeping your nails looking modern and chic. With this easy negative space nails tutorial, you can create beautiful designs in just a few simple steps. So gather your supplies, unleash your creativity, and enjoy the stylish world of negative space nail art! Happy painting!


