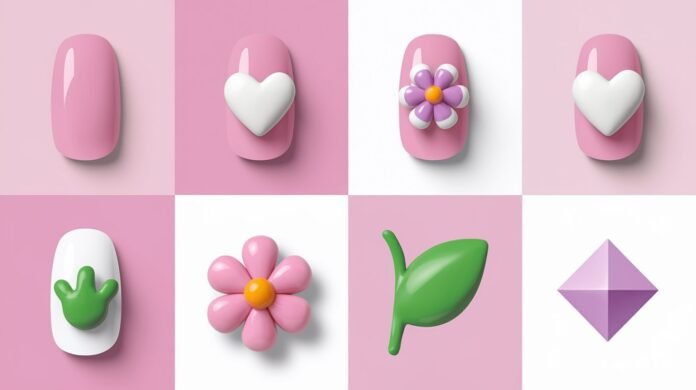
3D nail art is an exciting way to elevate your manicure from flat to fabulous. This technique allows you to incorporate elements like gems, rhinestones, and acrylic to create eye-catching designs that add depth and texture. In this 3D nail art tutorial, we’ll guide you through how to do 3D nails with detailed instructions and advanced 3D nail art techniques for stunning results.

What You’ll Need
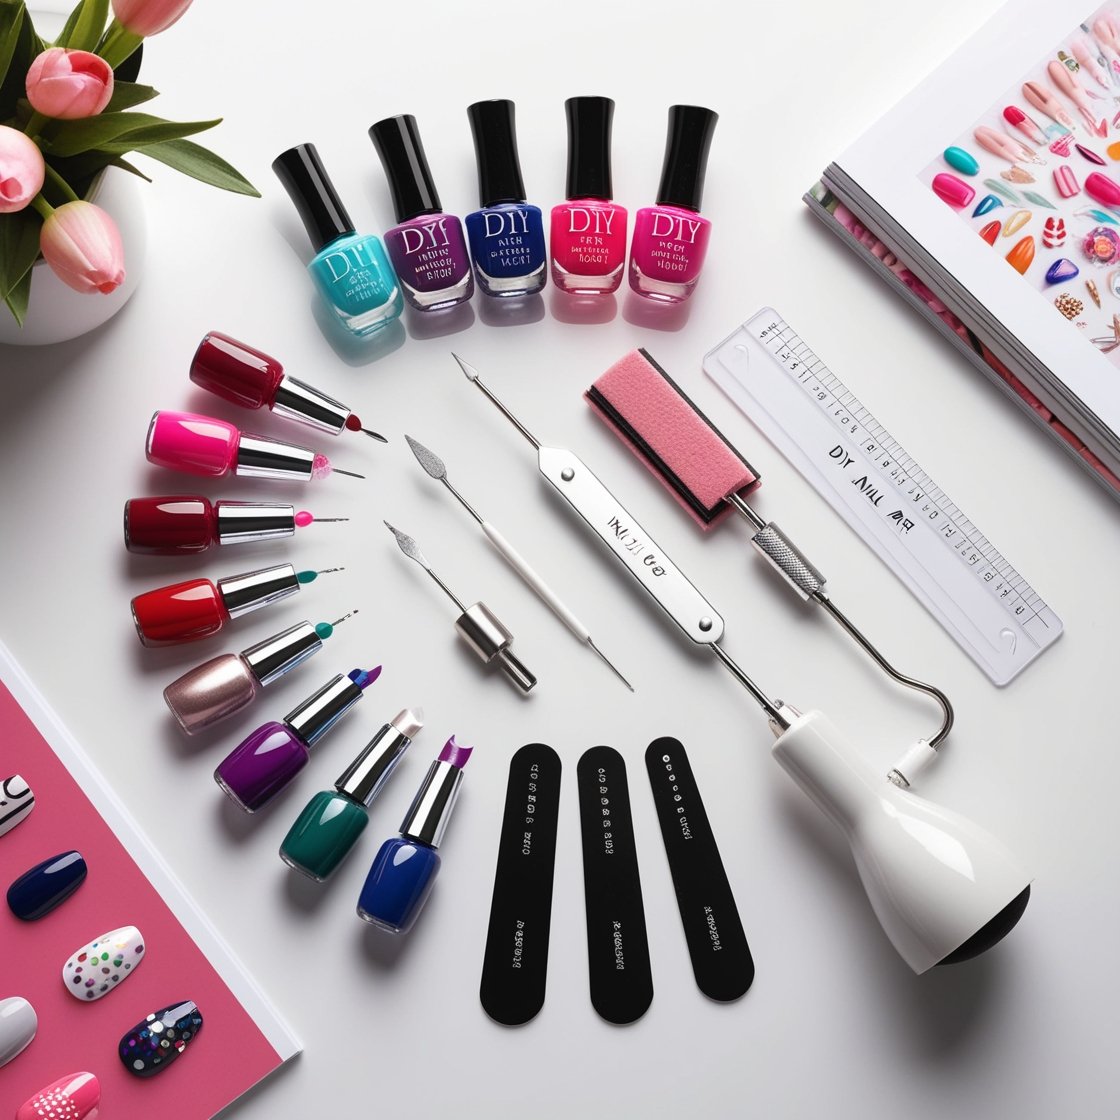
Before diving into your 3D nail art, gather the following supplies:
- Base Coat: To protect your natural nails.
- Nail Polish Colors: Choose your base and accent colors.
- Nail Art Brushes: Fine detail brushes for precision work.
- Acrylic Powder and Liquid (Optional): For creating custom shapes.
- Nail Gems and Rhinestones: Various sizes and colors to embellish your design.
- Nail Glue or Gel: For securing your 3D elements.
- Top Coat: To seal your design.
- Nail Polish Remover and Cotton Swabs: For cleanup.
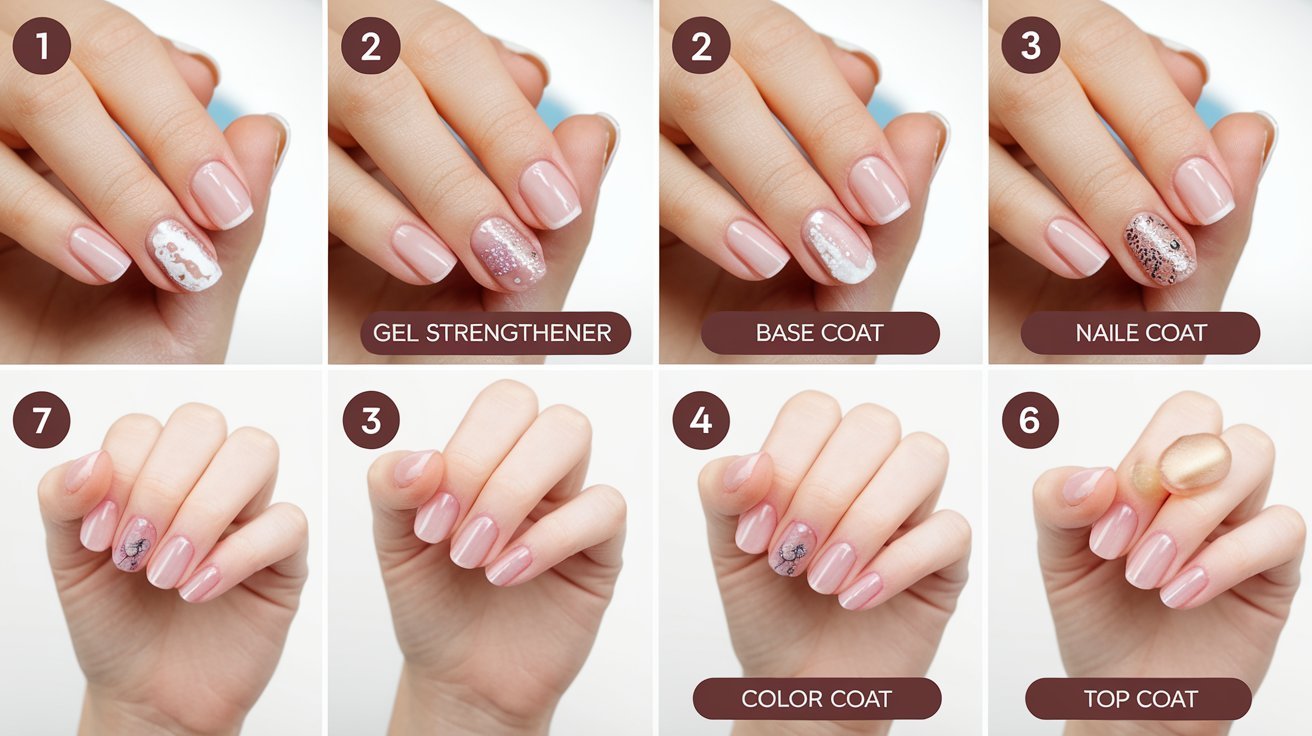
Step 1: Prepare Your Nails
Start with clean, well-prepped nails to ensure the best adhesion for your art:
- Shape and File: Shape your nails as desired and buff them for a smooth surface.
- Clean Your Nails: Remove any old polish and wash your hands thoroughly.
- Apply Base Coat: Apply a base coat and let it dry completely to protect your natural nails.
Step 2: Apply Base Color
Choose a color that will complement your 3D design:
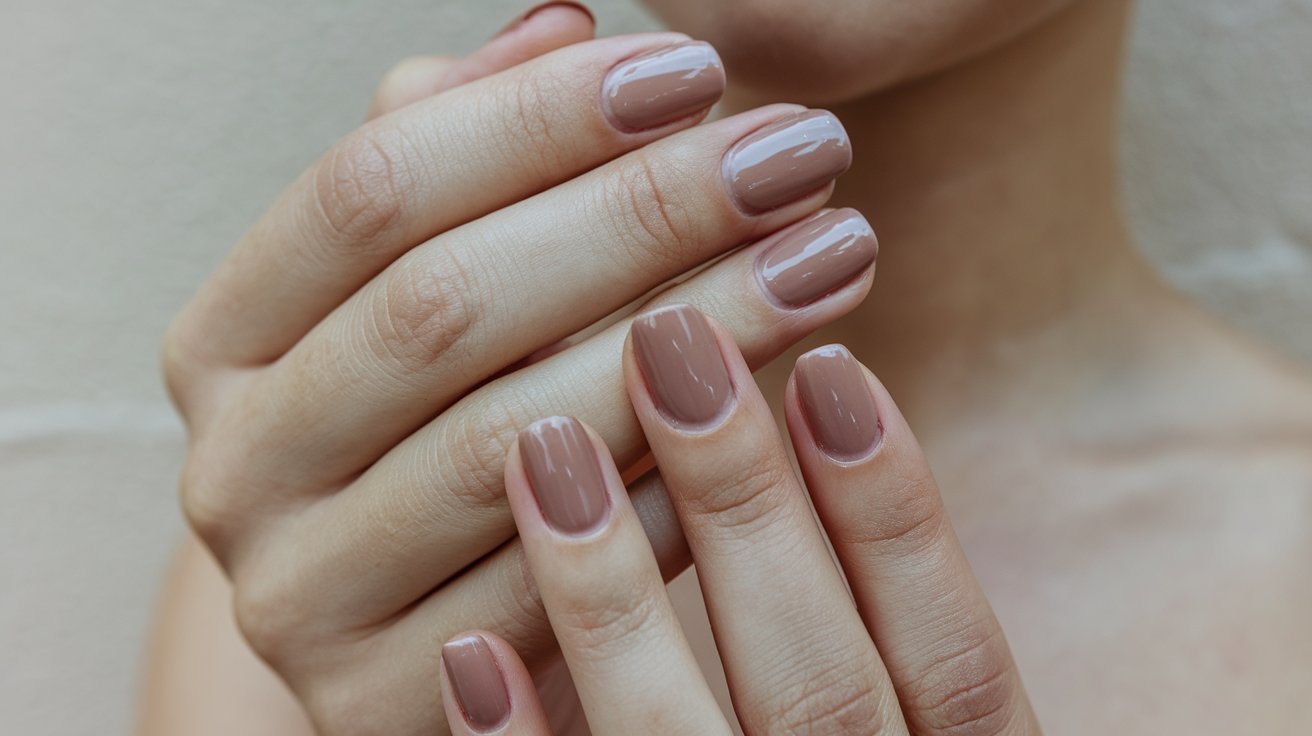
- Paint Your Nails: Apply two coats of your chosen base color for full opacity. Allow each coat to dry completely.
- Consider a Contrast: If you’re using light gems or rhinestones, a darker base color (and vice versa) can make your design pop.
Step 3: Plan Your Design
Before applying any 3D elements, plan your design layout:
- Sketch It Out: Lightly sketch the design on paper or even directly on your nails using a nail art pen. Think about where you want to place the 3D elements.
- Choose Your Elements: Decide on the combination of gems, rhinestones, or acrylic shapes you want to use.
Step 4: Apply 3D Elements
This step involves applying your 3D elements to the nail:
- Using Nail Glue: Apply a small dot of nail glue to the area where you want to place your gem or rhinestone. Use tweezers or a dotting tool to place the gem precisely.
- Create Acrylic Shapes (Optional): If you’re using acrylic, mix the powder and liquid according to the instructions. Using a detail brush, sculpt your desired shapes directly onto the nail.
- Tip: Work quickly before the acrylic sets to shape and smooth the design.
Step 5: Add Detailing
Enhance your design with intricate detailing:
- Use Nail Art Brushes: With your detail brush, add any additional designs around the 3D elements, such as swirls or dots.
- Layering Elements: You can layer smaller gems on top of larger ones for added dimension.
Step 6: Seal Your Design
To protect your intricate work, sealing is crucial:
- Apply Top Coat: Once the 3D elements are securely in place, apply a top coat over the entire nail, avoiding direct contact with the gems to prevent dulling their shine. Alternatively, use a no-wipe gel top coat for extra shine.
- Let It Dry: Allow the top coat to dry completely to ensure the longevity of your design.
Advanced 3D Nail Art Techniques
Once you’ve mastered the basics, consider experimenting with these advanced techniques:
- Ombre Effect: Combine a gradient effect with your 3D elements for a more dynamic look. Use a sponge to create an ombre base before adding your 3D designs.
- Mixing Textures: Combine matte and glossy finishes within your design to create visual interest. For instance, use a matte top coat on the base and a glossy top coat on the 3D elements.
- Geometric Designs: Use nail tape to create geometric shapes on your nails, then fill them with color or leave them clear to show off your 3D designs.
- Incorporate Natural Elements: Use dried flowers or leaves as part of your design. Apply them before adding your top coat to keep them secure.
- Themed Designs: Create seasonal or themed designs, like flowers in spring, snowflakes in winter, or even holiday-specific designs that incorporate festive colors and shapes.
Tips for Successful 3D Nail Art
- Practice Patience: 3D nail art can be time-consuming, so take your time and be patient with each step.
- Quality Tools: Invest in good-quality tools, especially when it comes to nail art brushes and gem placement tools.
- Experiment: Don’t be afraid to try new combinations of colors, shapes, and placements. Creativity is key in nail art!
Conclusion
Mastering 3D nail art can transform your manicures into stunning works of art. With this 3D nail art tutorial and the advanced 3D nail art techniques outlined, you’re now equipped to create impressive designs using gems, rhinestones, and acrylic. Remember, practice is crucial, so keep experimenting and refining your skills. Enjoy your journey into the world of 3D nail art!


