Gel polish has revolutionized the world of nail art, offering long-lasting wear and vibrant color. While many beginners use gel polish for straightforward applications, its versatility allows for intricate designs that can truly elevate your nail game. This gel polish nail art tutorial will delve into advanced gel nail techniques that are perfect for seasoned nail artists looking to refine their skills. Let’s explore how to create stunning nail art using gel polish with expert tips and tricks.

What You’ll Need
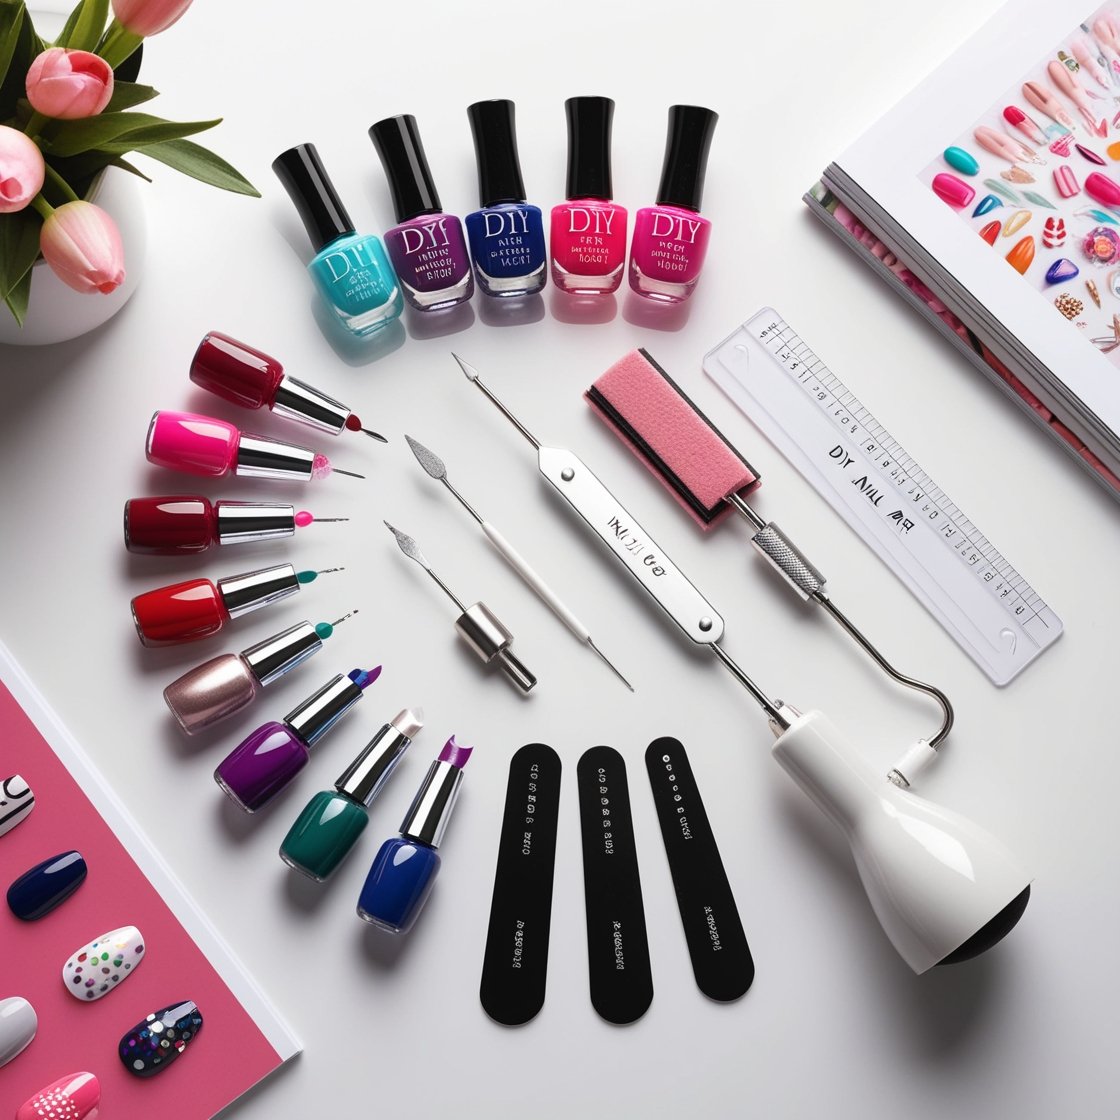
To create intricate gel nail art designs, gather the following supplies:
- Base Coat: Essential for adhesion and nail protection.
- Gel Nail Polish: Choose a range of colors, including both regular and matte finishes.
- Top Coat: A high-shine or matte top coat to seal your designs.
- Nail Art Brushes: Fine detail brushes, striping brushes, and a dotting tool.
- Nail Art Stencils: For precise designs (optional).
- Nail Lamp: A UV or LED lamp for curing your gel polish.
- Alcohol Wipes: For cleaning the nail surface and removing the sticky layer after curing.
- Nail Art Tape: To create clean lines and geometric shapes.
- Rhinestones and Foils: For embellishments that add dimension.
- Acrylic Paints: For detailed designs that require more precision.
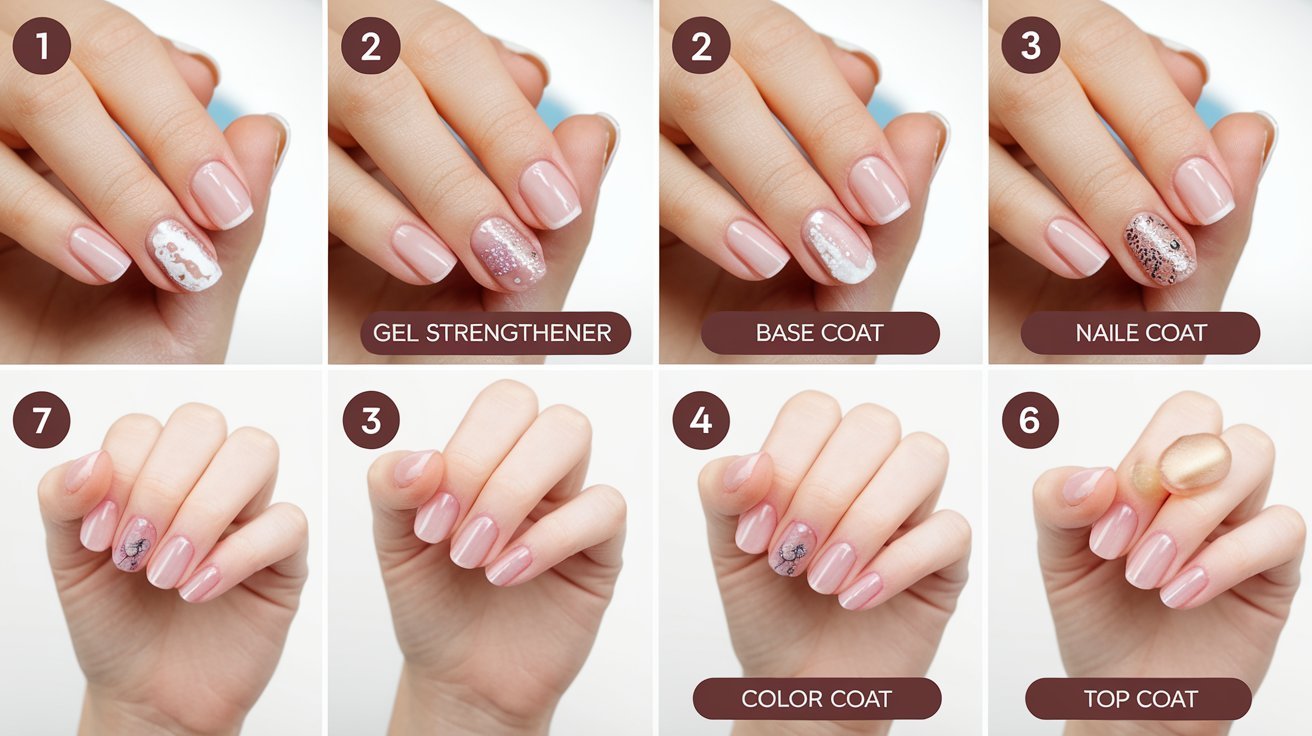
Step 1: Prepare Your Nails
Before you start with the gel polish, proper preparation is key:
- Shape Your Nails: File your nails to your desired shape and length.
- Buff the Surface: Lightly buff the nail surface to promote better adhesion.
- Clean the Nails: Remove any dust and oils from your nails using alcohol wipes.
- Apply Base Coat: Apply a thin layer of base coat and cure it under the lamp as per the product instructions.
Step 2: Base Color Application
Your base color sets the foundation for your design:
- Choose Your Colors: Select a gel polish color that will serve as the background for your nail art.
- Apply the Gel Polish: Use a thin brush to apply a uniform layer of your chosen color, then cure it under the lamp.
- Layer Up: For deeper color, apply a second coat, curing after each layer.
Step 3: Advanced Techniques for Nail Art
Now that you have your base color, let’s dive into some advanced gel nail techniques:
- Nail Art Stencils:
- Use Stencils: Apply nail art stencils to your cured base color.
- Fill In: Use a contrasting gel polish to fill in the stencil, and then cure. Remove the stencil for a clean design.
- Marbling:
- Create the Marble Effect: Use two or more gel colors, applying them randomly on the nail. Swirl them together using a nail art brush, then cure.
- Finish with a Top Coat: Apply a top coat to seal the design and enhance shine.
- Gradient Techniques:
- Sponge Application: Use a makeup sponge to apply two or more colors on the tip or base of the nail, creating a gradient.
- Cure Between Colors: Cure after each application to prevent mixing.
- Nail Art Tape Designs:
- Tape Off Sections: Use nail art tape to create geometric designs on the nail.
- Apply Gel Polish: Paint over the taped area and remove the tape before curing for clean lines.
- Using Acrylic Paints:
- Paint Intricate Designs: After curing the gel base, use acrylic paints for detailed designs. This is ideal for intricate patterns, flowers, or fine lines.
- Seal with Top Coat: Once the paint dries, seal your design with a gel top coat.
- Foil Application:
- Apply Foil Adhesive: After curing the base color, apply a thin layer of foil adhesive. Cure according to the product instructions.
- Apply Foil: Press foil onto the adhesive area, then cure again. This creates a stunning metallic finish.
Step 4: Final Touches
Once your designs are complete, it’s time to finish up:
- Apply Top Coat: Use a gel top coat to seal your designs. This will protect your art and provide a high-gloss finish. Cure according to instructions.
- Clean the Nails: Use alcohol wipes to remove the sticky layer left by the top coat, ensuring a smooth and glossy finish.
Tips for Successful Gel Nail Art
- Practice Precision: Take your time with detail work and practice makes perfect. Don’t rush intricate designs.
- Experiment with Techniques: Try combining different techniques in one manicure for a unique look.
- Use Quality Products: Invest in high-quality gel polishes and tools to ensure better results and longevity.
- Be Creative: Don’t hesitate to let your imagination run wild! Nail art is an art form, so express yourself.
Conclusion
Creating stunning nail art with gel polish doesn’t have to be intimidating. With this gel polish nail art tutorial and the advanced gel nail techniques outlined, you can master intricate designs that showcase your skills. Whether you’re preparing for an event or just want to elevate your everyday look, these techniques will help you achieve salon-quality results at home. Happy painting!

