When it comes to nail art, trends come and go, but some styles make a lasting impression. One such trend is the use of holographic glitter, which adds a stunning, multidimensional effect to any nail design. Holographic glitter nails are the perfect blend of glam and subtlety, allowing you to shine without overwhelming your look. In this guide, we’ll explore how to achieve gorgeous holographic glitter nails, tips for application, and inspiration for your next nail art session.

What Are Holographic Glitter Nails?
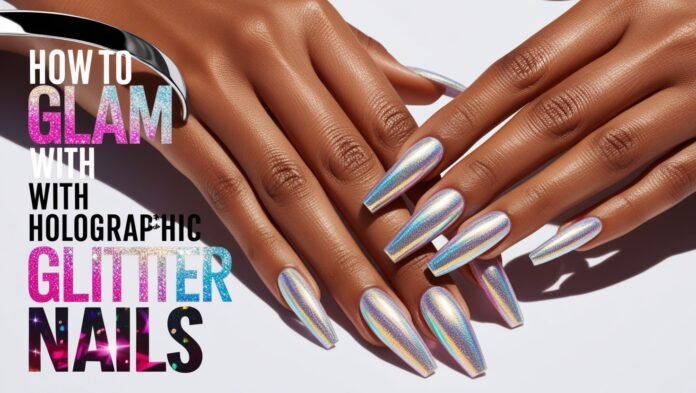
Holographic glitter nails incorporate fine or chunky glitter particles that reflect light in various colors, creating a captivating, rainbow-like effect. Unlike traditional glitter, holographic glitter features a prismatic quality, making it versatile for different occasions—from everyday wear to special events. The appeal lies in its ability to transform a simple nail polish into something extraordinary without being overly flashy.
Why Holographic Glitter?
1. Versatility
Holographic glitter can be used in various nail designs, from simple accents to full coverage. It pairs well with both light and dark base colors, allowing you to create a wide range of looks that suit your style.
2. Subtle Glam
While some glitter nail designs can be overwhelming, holographic glitter strikes the right balance. It adds a touch of sparkle and sophistication without being too loud, making it perfect for both casual and formal settings.
3. Trendy Yet Timeless
Holographic glitter is a trend that transcends seasons. It’s currently gaining popularity, but its classic appeal ensures it won’t go out of style anytime soon.
Step-by-Step Guide to Achieving Holographic Glitter Nails
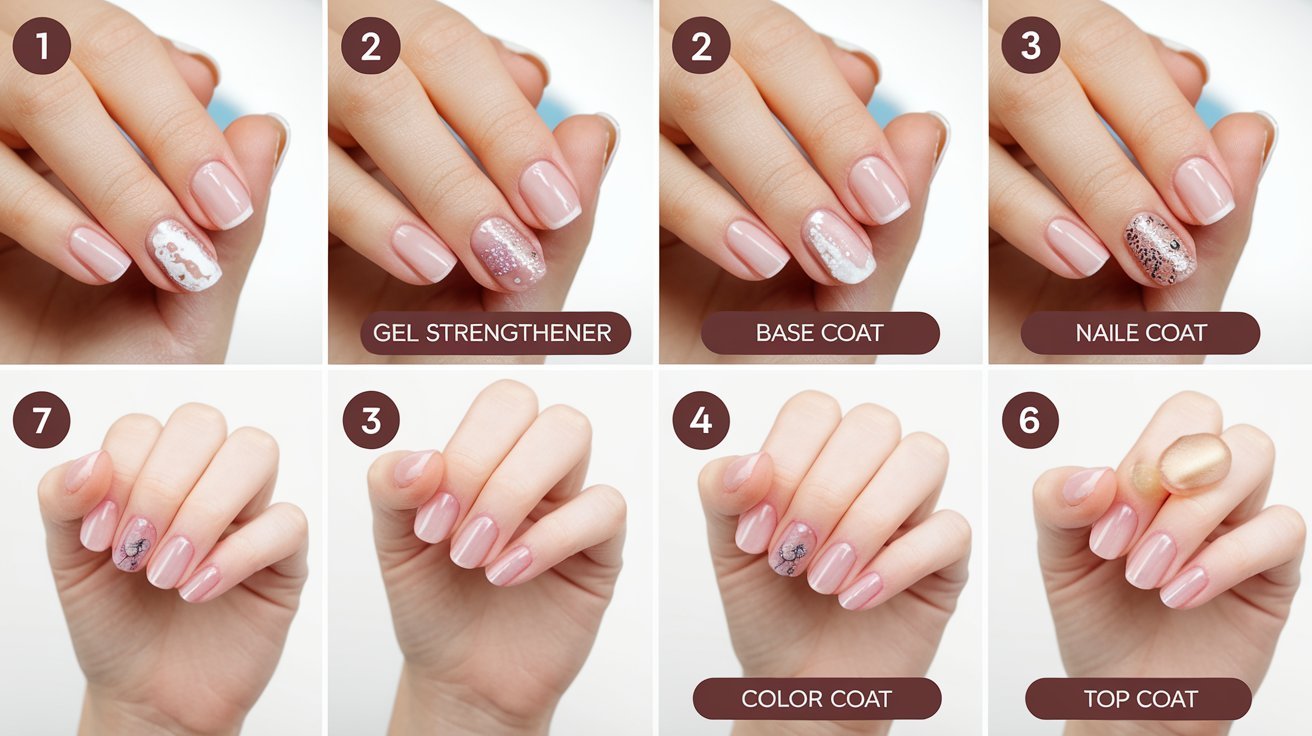
Ready to dive into the world of holographic glitter nails? Here’s a simple step-by-step tutorial to help you get started.
Step 1: Gather Your Supplies
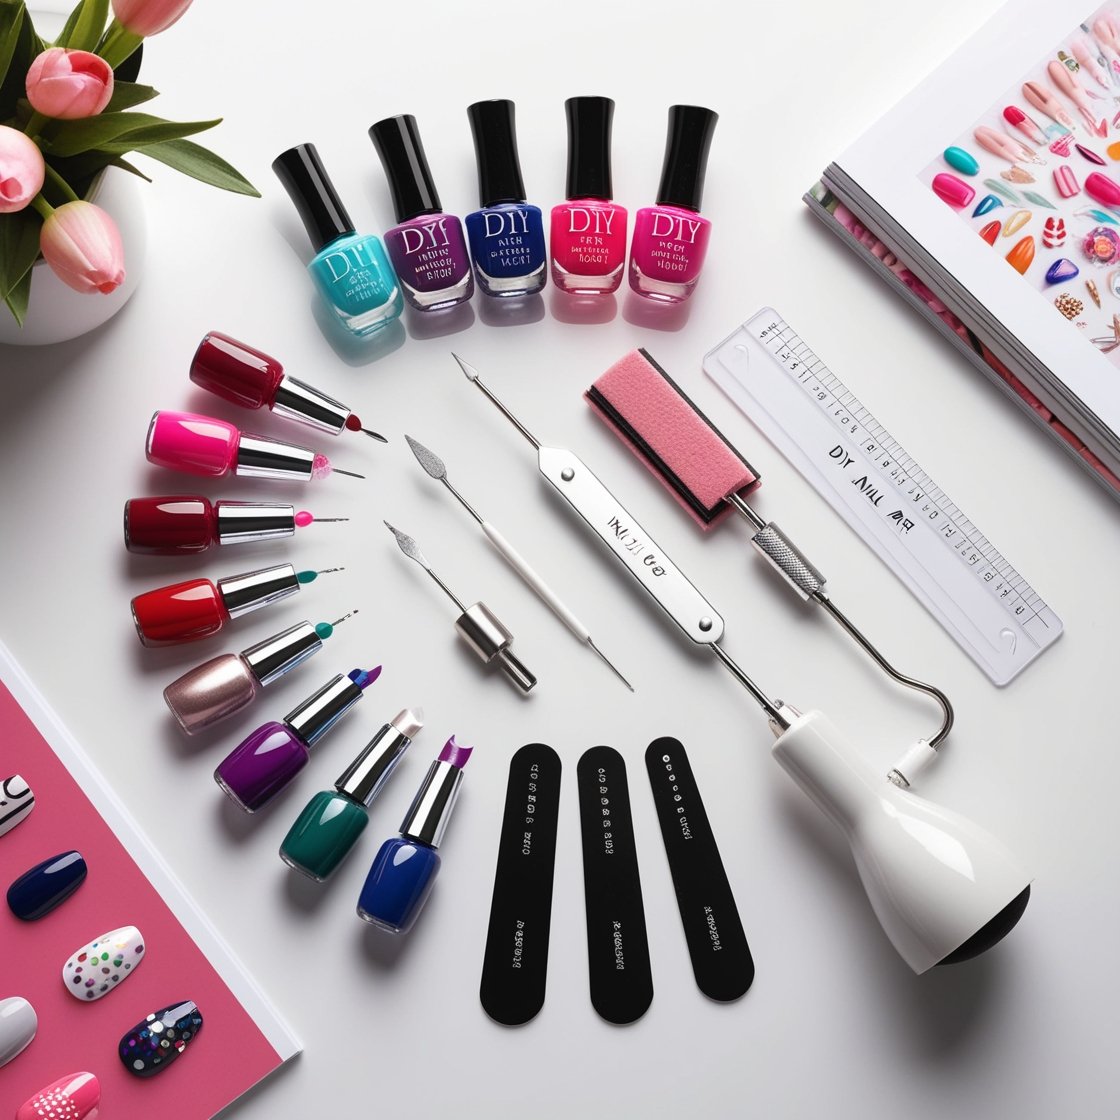
To achieve stunning holographic glitter nails, you’ll need the following supplies:
- Holographic glitter (fine or chunky)
- Base coat
- Nail polish (color of your choice)
- Top coat
- Nail art brush or sponge
- Tweezers (optional for precise application)
- Lint-free wipes
- Isopropyl alcohol (for cleanup)
Step 2: Prepare Your Nails
Start by prepping your nails for the best results:
- Remove any old polish and clean your nails thoroughly.
- Shape your nails using a file and buff the surface lightly for a smooth finish.
- Push back your cuticles and apply a base coat to protect your natural nails.
Step 3: Apply Base Color
Choose a base color that complements your holographic glitter. Light colors like white, pastel shades, or even dark shades like navy blue can create a beautiful contrast.
- Apply two thin layers of your chosen nail polish for an even finish, allowing each layer to dry completely.
Step 4: Apply Holographic Glitter
Option 1: Glitter on All Nails
- Using a nail art brush or sponge, dip into the holographic glitter.
- Gently tap or dab the glitter onto the nail, focusing on the tips for an ombre effect or covering the entire nail.
- For full coverage, apply a layer of clear nail polish over the glitter to seal it in.
Option 2: Accent Nails
- Choose one or two nails on each hand to feature holographic glitter.
- Apply a layer of clear polish and sprinkle or tap holographic glitter onto the wet polish.
- Use tweezers to adjust any larger glitter pieces for an even look.
Step 5: Seal the Look
Once you’re satisfied with your glitter application, allow it to dry for a few minutes.
- Finish off with a top coat to protect your design and add shine. This will also smooth out any rough edges from the glitter.
Step 6: Clean Up
To achieve a clean look, use a lint-free wipe dipped in isopropyl alcohol to gently remove any excess glitter around your nails.
Tips for Perfect Holographic Glitter Nails
- Choose the Right Glitter: Opt for high-quality holographic glitter for the best results. Fine glitter creates a more subtle look, while chunky glitter can be more dramatic.
- Layering: For an intense holographic effect, consider layering multiple types of glitter. Start with a fine glitter base, then add chunky pieces on top for dimension.
- Use a Damping Agent: If you’re struggling with glitter application, try using a damp sponge to press the glitter onto the wet polish. This helps it adhere better and reduces mess.
- Experiment with Designs: Don’t be afraid to get creative! Try using tape for clean lines, stencils for intricate designs, or even combining holographic glitter with other nail art techniques.
Trending Holographic Glitter Nail Designs
1. Holographic French Tips
A twist on the classic French manicure, using holographic glitter for tips adds a fun and contemporary flair. Pair this with a nude or soft pink base for an elegant look.
2. Ombre Holographic Nails
Gradually fade the holographic glitter from the cuticle to the tip for a stunning ombre effect. This design is perfect for summer and adds a playful vibe to your nails.
3. Accent Glitter Nails
Keep the majority of your nails in a solid color and highlight one or two nails with holographic glitter. This minimalist approach is chic and modern.
4. Geometric Patterns
Use tape to create geometric shapes on your nails, then fill in the shapes with holographic glitter. This design is trendy and gives your nails a contemporary edge.
Conclusion
Holographic glitter nails are an excellent way to add a touch of glam to your everyday look without being over-the-top. With simple techniques and the right tools, you can achieve stunning designs that will turn heads wherever you go. Whether you opt for a full glitter manicure or just a few accent nails, holographic glitter is a versatile choice that fits any occasion. So gather your supplies and get ready to sparkle!


