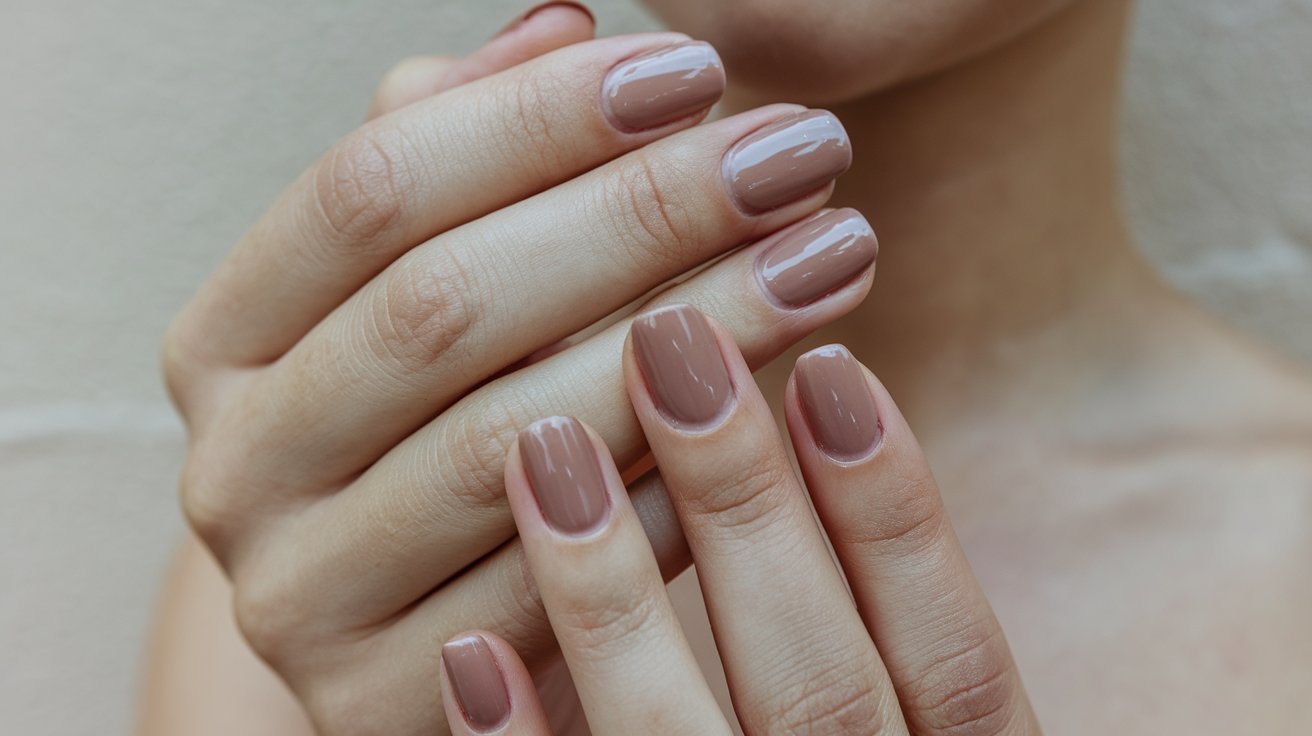
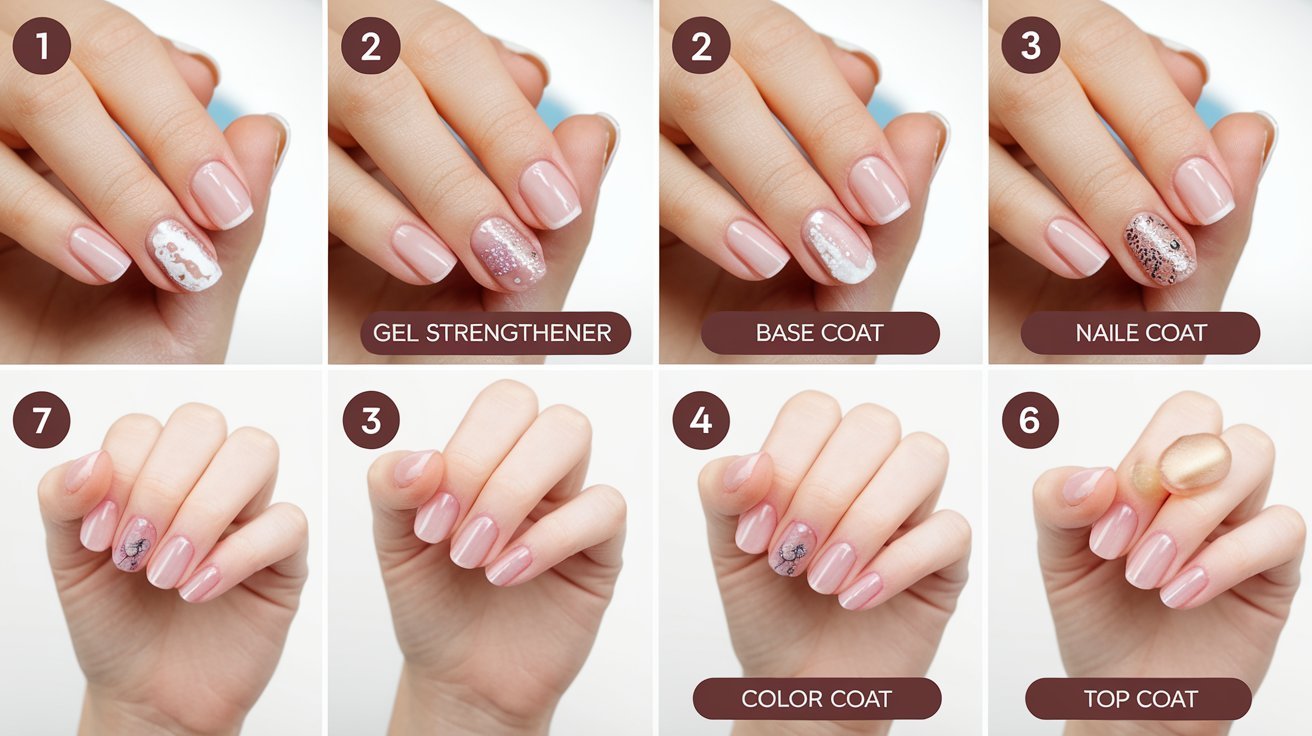
Ombre nails are a stunning way to showcase your creativity and style without needing professional skills or equipment. This trendy nail art technique blends two or more colors, creating a beautiful gradient effect that’s perfect for any occasion. Whether you’re gearing up for a special event or just want to refresh your everyday look, easy ombre nails at home can elevate your manicure game. In this DIY ombre nails tutorial, we’ll guide you through a simple ombre nail guide to achieve a gorgeous ombre effect in just five easy steps!

What You’ll Need
Before you get started, gather the following supplies:
- Nail polish: Choose at least two colors that complement each other. A lighter shade and a darker shade of the same color family work well.
- Base coat: For protecting your natural nails.
- Top coat: To seal your design and add shine.
- Makeup sponge: This will help create the ombre effect.
- Nail file and buffer: For preparing your nails.
- Cuticle oil: To nourish your cuticles post-manicure.
- Nail polish remover: For cleanup.
- Tape (optional): To protect your skin from polish.
Step-by-Step Ombre Nails Tutorial
Step 1: Prepare Your Nails
- Start with clean nails: Remove any old polish and wash your hands thoroughly. Make sure your nails are free from any oils or residue.
- Shape and buff: File your nails to your desired shape and gently buff the surface to create a smooth canvas. This helps the polish adhere better.
- Apply a base coat: Apply a thin layer of base coat to protect your nails and allow it to dry completely.
Step 2: Choose Your Colors
- Select your polish: Choose two complementary colors. For a classic ombre look, you might opt for a light pink and a darker pink, or go bold with a deep blue and a sky blue.
- Layer your colors: Apply one of the colors as a base. You may want to do two coats to ensure an even base color, allowing each coat to dry completely.
Step 3: Create the Ombre Effect
- Prepare your sponge: Take your makeup sponge and paint a stripe of each color side by side on the sponge. Make sure the colors overlap slightly in the middle.
- Dab on your nails: Press the sponge onto your nail, starting from the tip and moving toward the cuticle. Use a light tapping motion, and you may need to dab multiple times to build up the color until you achieve your desired gradient.
- Repeat for all nails: Continue this process for all your nails, reapplying polish to the sponge as needed. For a more blended look, you can go back over the edges of the colors lightly.
Step 4: Clean Up
- Remove excess polish: Once you’re happy with the ombre effect, use a small brush or a cotton swab dipped in nail polish remover to clean around your nails. Be careful not to disturb the ombre effect on your nails.
- Let it dry: Allow the ombre nails to dry completely before applying a top coat.
Step 5: Seal Your Design
- Apply a top coat: Once your ombre nails are dry, apply a top coat to seal your design and add shine. This step is crucial for extending the wear of your manicure and giving it that salon-quality finish.
- Nourish your cuticles: Finish off your manicure by applying cuticle oil to keep your cuticles healthy and hydrated.
Tips for Success
- Practice on a practice nail or paper: If you’re nervous about the ombre effect, practice on a piece of paper or a practice nail first to get the hang of it.
- Experiment with colors: Don’t be afraid to try different color combinations! Ombre can look fantastic with bright colors, pastels, or even metallics.
- Use a clean sponge for each set: For the best results, use a clean sponge each time you create an ombre design, as residue from previous colors can muddy your gradient.
Conclusion
Creating easy ombre nails at home is an enjoyable and rewarding process that allows you to express your personal style. With this DIY ombre nails tutorial, you can achieve stunning results with just a few simple steps and basic tools. Remember, practice makes perfect! So don’t hesitate to experiment with different color combinations and techniques. Enjoy your beautiful ombre nails, and happy painting!


