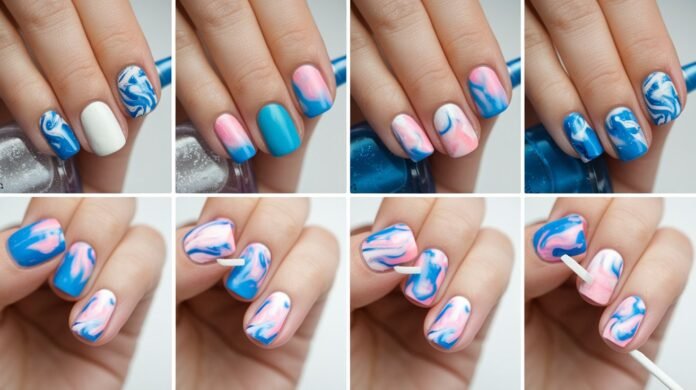
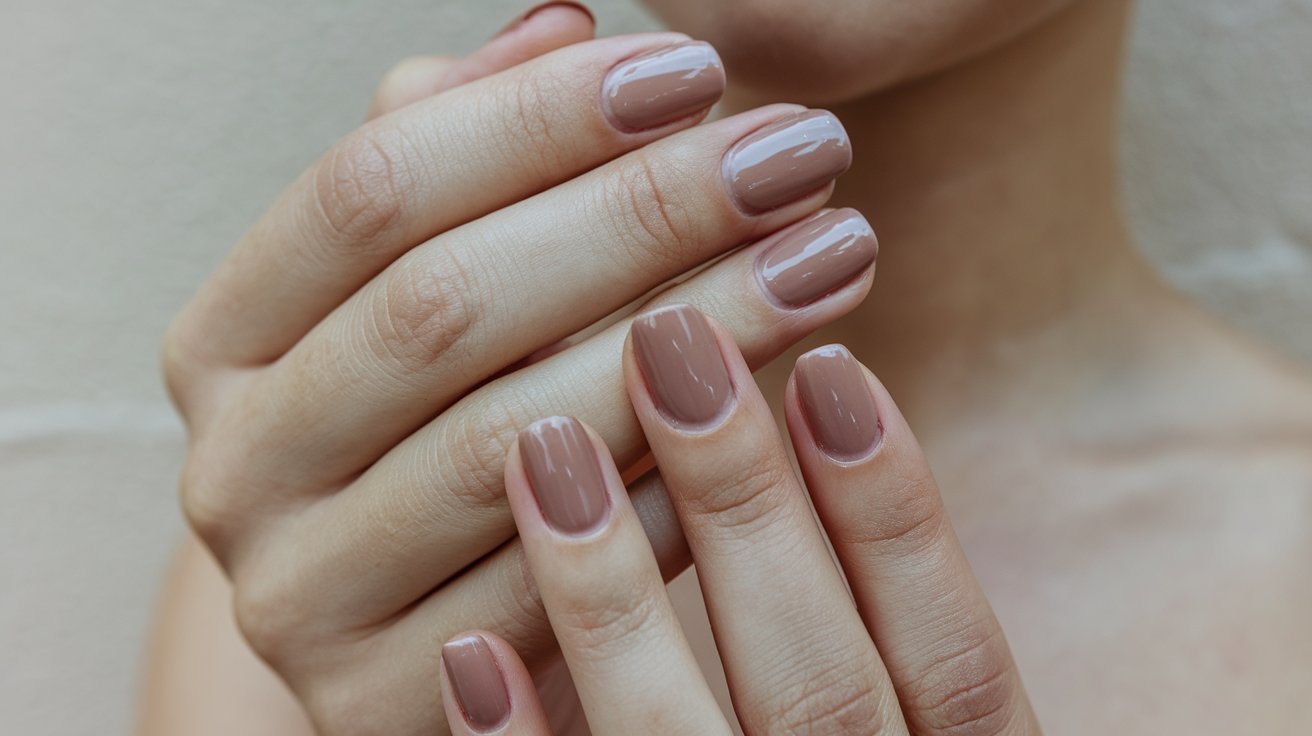
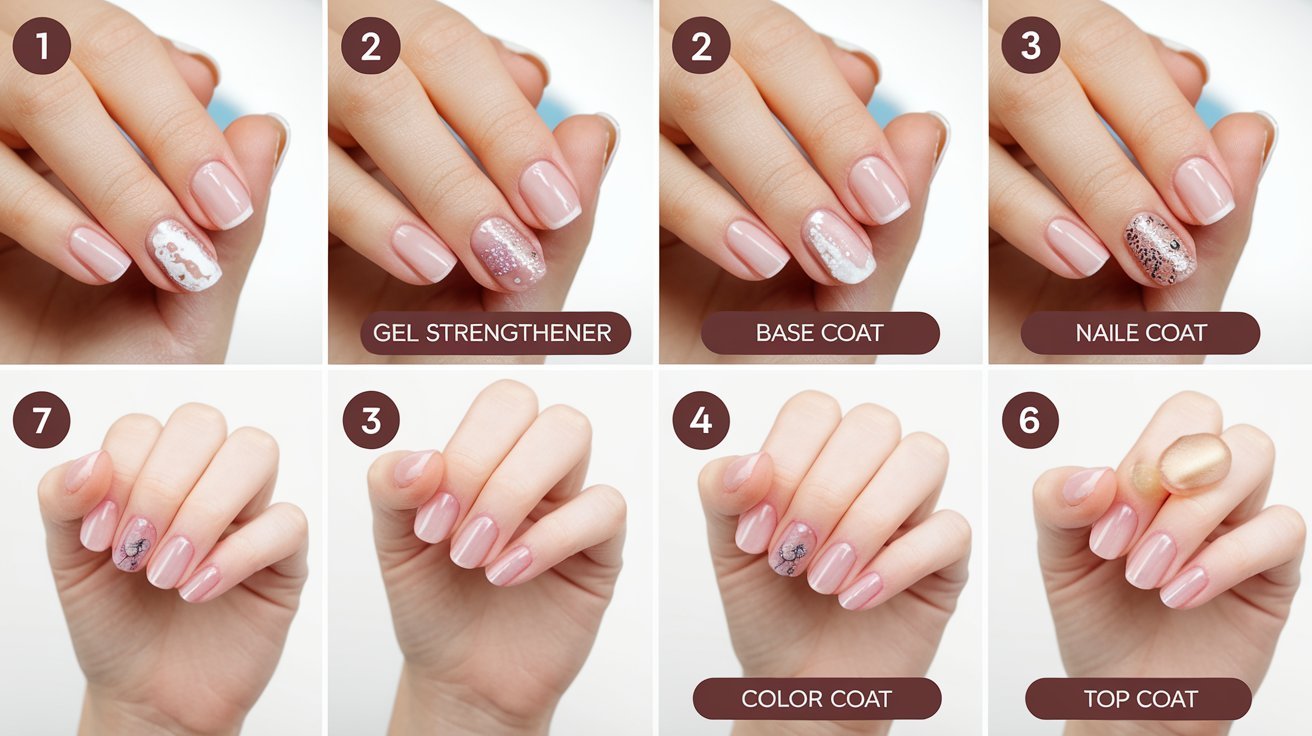
Nail art can be an intimidating craft, especially for beginners, but the marble nail art trend is both stunning and surprisingly simple to achieve! With just a few basic tools and some practice, you can create beautiful beginner marble nails that will impress everyone. In this guide, we’ll walk you through a step-by-step marble nail tutorial, making it easy for you to master this elegant technique.
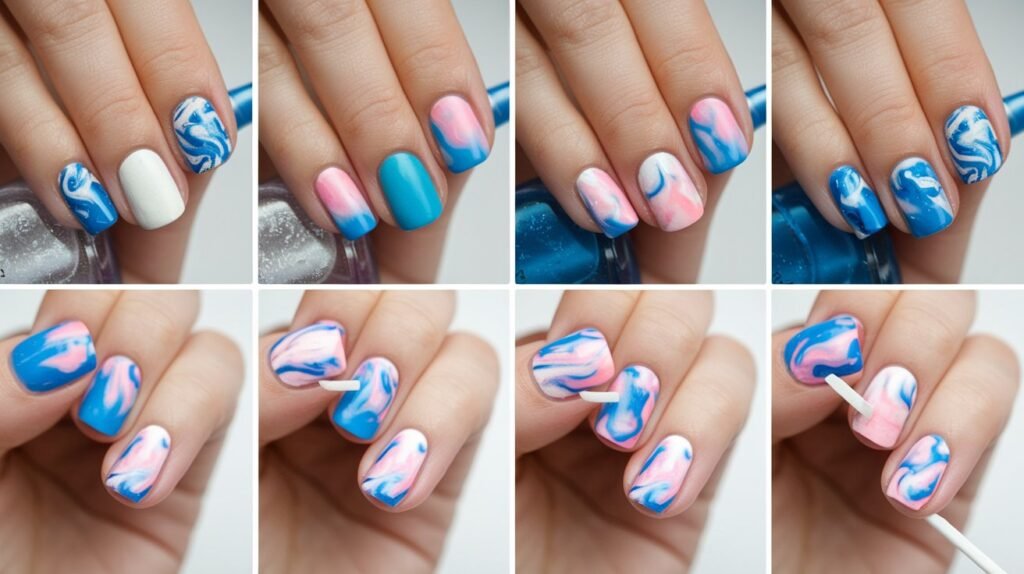
What You’ll Need
Before you start, gather the following supplies:
- Nail polish: Choose at least two contrasting colors. Classic combinations like white and gray, blue and white, or pink and purple work well.
- Base coat: This protects your nails and helps the polish adhere better.
- Top coat: To seal your design and add shine.
- Water: Room temperature works best.
- Cup or bowl: For creating the marble effect.
- Toothpick or nail art brush: For swirling the polish.
- Tape or cuticle oil: To protect your skin from polish.
- Cotton pads and remover: For cleanup.
Step-by-Step Marble Nail Tutorial
Step 1: Prepare Your Nails
- Start with clean nails: Remove any old nail polish and wash your hands thoroughly.
- Push back cuticles: Gently push back your cuticles using a cuticle pusher or an orangewood stick.
- Apply a base coat: Apply a thin layer of base coat to each nail. This helps protect your nails and creates a smooth surface for your marble effect. Allow it to dry completely.
Step 2: Prepare Your Workspace
- Protect your skin: Use tape or apply cuticle oil around your nails to protect your skin from excess polish. This makes cleanup easier later.
- Fill your cup with water: Pour room-temperature water into a cup or bowl, filling it enough to submerge your nails.
Step 3: Create the Marble Effect
- Add polish to the water: Start by dropping your first nail polish color onto the surface of the water. Allow it to spread out slightly before adding a second drop of a different color. Alternate colors, creating a series of concentric circles. You can add as many colors as you like, but two to three usually work best.
- Swirl the colors: Using your toothpick or nail art brush, gently swirl the colors together to create a marbled effect. Be careful not to mix them too much; you want to see distinct swirls.
- Dip your nail: Once you’re happy with the design, take one of your nails and dip it into the water, making sure to immerse it into the marbled area. Keep the nail submerged for a few seconds.
- Remove the excess polish: Before pulling your nail out, use the toothpick to gather any excess polish from the surface of the water. This will give you a cleaner exit.
- Pull your nail out: Slowly lift your nail out of the water, allowing the marbled design to stay on your nail.
Step 4: Clean Up and Finish
- Clean up excess polish: Use a cotton pad with nail polish remover to clean around your nails and remove any excess polish from your skin. Be gentle to avoid smudging your design.
- Apply a top coat: Once your nails are clean and dry, apply a top coat to seal your design and add shine. This will also help your marble nails last longer.
- Let everything dry: Allow your nails to dry completely before using your hands or applying more polish.
Tips for Success
- Practice makes perfect: Marble nail art can take some practice. Don’t get discouraged if your first attempt doesn’t turn out perfectly. Experiment with different colors and swirling techniques!
- Experiment with colors: Feel free to get creative with your color choices. Bright colors can create a fun summer look, while darker shades can give a sophisticated, moody vibe.
- Use a small bowl for easier cleanup: Using a disposable cup can help with cleanup. Once you’re finished, you can toss the cup instead of scrubbing your regular bowl.
Conclusion
Creating easy marble nail art is a fun and rewarding way to express your creativity without needing extensive tools or skills. With just a few simple steps, you can achieve stunning marble nail designs that look like they were done at a salon. Remember to take your time and enjoy the process—each attempt will improve your skills. Happy painting!

